CS 480/680 Environment SetupSetting up Eclipse & JOGL-2.0
For the lab sessions, we will be using Eclipse as our Integrated
Development Environment (IDE). JDK and Eclipse have already been installed on
the lab machines. To set up the environment on your own machine, you need
to first install
JDK and
Eclipse.
Then follow the steps below, as we shall do on the lab machines in the first lab
session.
Step 1. Open EclipseDouble click the Eclipse icon on the desktop, and a window will pop up, asking you to specify a workspace directory: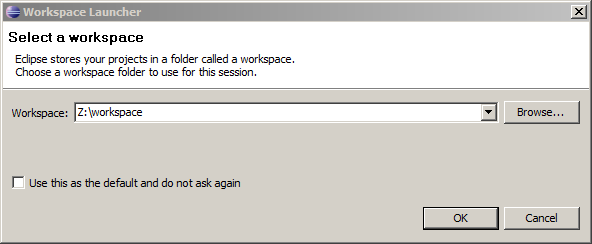 Note that all the code you write in Eclipse will be saved to this workspace directory. You may want to select a place in your home directory on the CS cluster instead of a local directory, so that all the settings will be saved after you leave the lab. Click "OK". Then minimize the Eclipse window for now. Step 2. Download the PackagePlease download the package here, which contains jogl-2.0 jar files for all platforms and the exercise code for the first Lab session. Open this package, and extract the two directories in it to the workspace directory you have just set."jogl-2.0" contains all the jogl files you need for most of the platform, and "lab1" contains the exercise code. Step 3. Set up Jogl-2.0 in EclipseReturn to the Eclipse window. Select Window->Preferences from the menu to open up the Preferences panel. On the LHS, select Java->Build Path->User Libraries. Click "New..." on the RHS.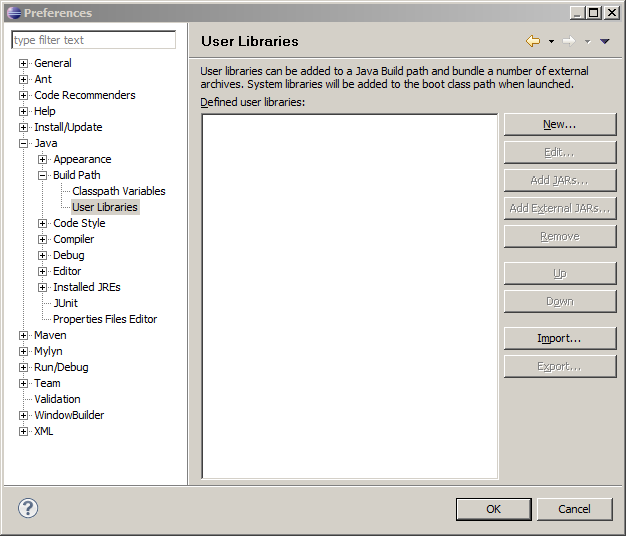 A window will pop up to ask for the new library's name. Type "jogl-2.0" as follows, then click "OK". 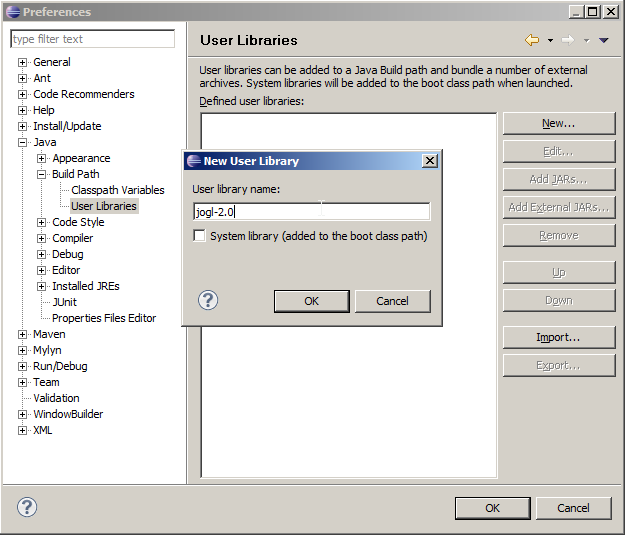 After that, you will see the new library's name listed in the center area. Click on it, and click "Add External Jars..." on the RHS. Then go to $workspace$/jogl-2.0/jar/, select all the files in it, and click "Open". Note that these files include some jars for other platforms, which you do not need, but including all the files will not hurt. 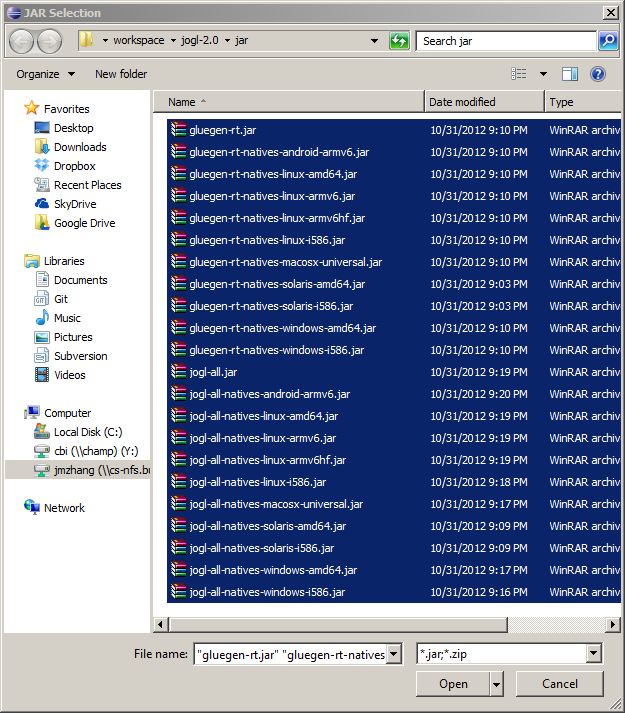 Then the Preferences panel will look like this: 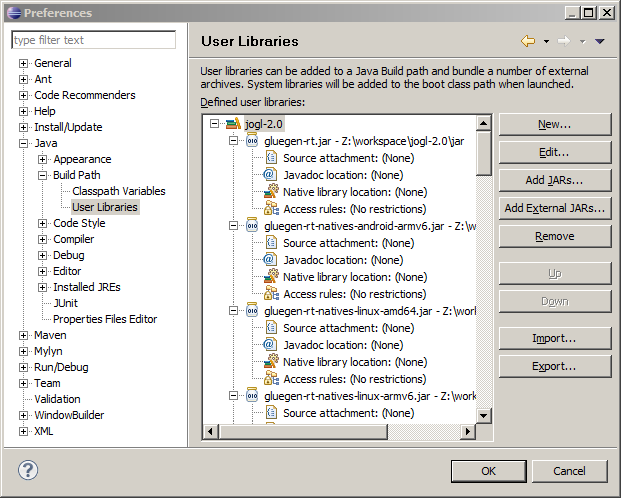 Click "OK" to close the panel. Step 4. Create a Java Project of Jogl-2.0Select File->New->Java Project from the menu to open the panel below.[If you cannot find the "Java Project" option, just select File->New->Project... , and then you can double click the "Java Project" under the "Java" directory in the pop up panel, to open up the following window as well.] Type in the project name "lab1" and click "Next". 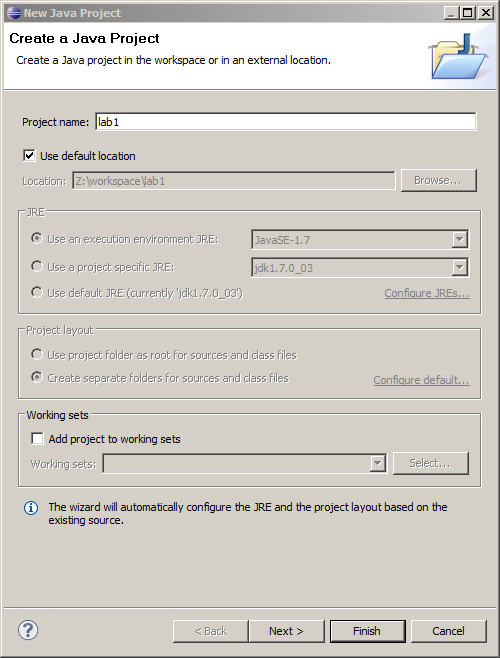 Now select the "Libraries" tab, then click "Add Library" on the RHS. 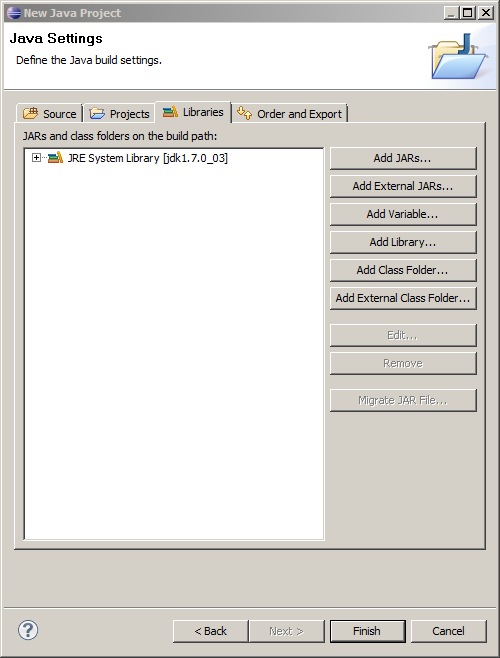 Now select "User library", then click "Next". 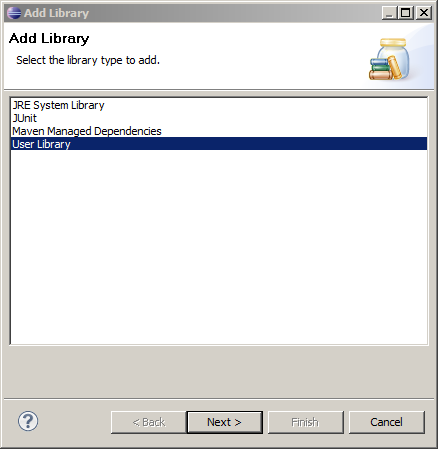 Select "jogl-2.0". Click "Finish" to return to the main panel. 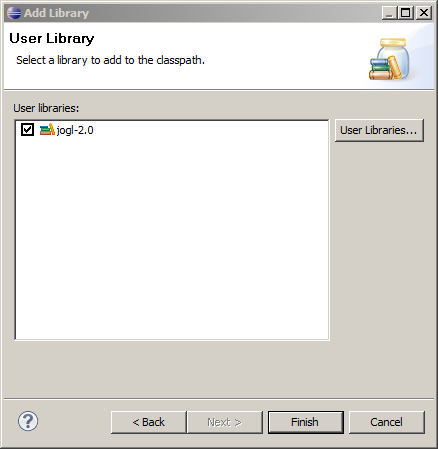 Click "Finish" to close the project creation panel. Our exercise code has been automatically included, we can see that in the Package Explorer of Eclipse. We are ready to go! 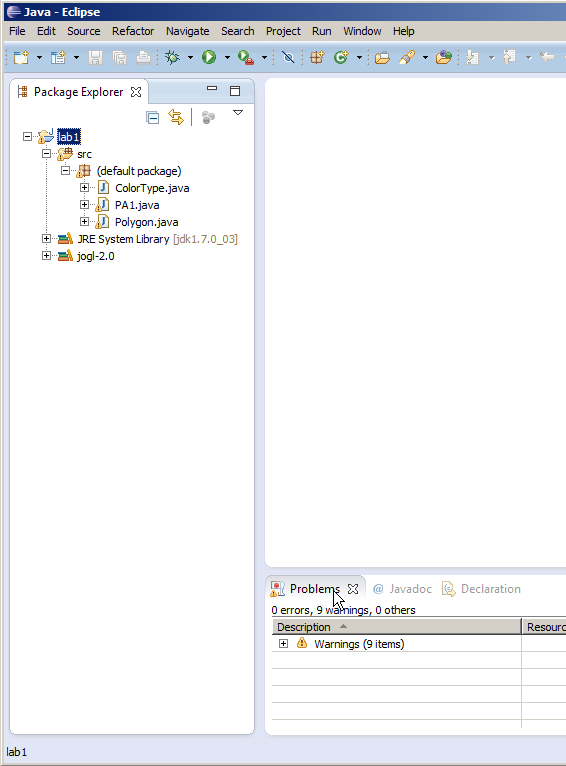 To run the code, click the green play button in the toolbar, and choose "lab1" as the main entry point. If a black window is displayed after a few seconds, then setup is completed successfully. |