Assignment 8: Getting Started with React Native
due by 9:00 p.m. EDT on Friday 3/27/2026 Preliminaries
In your work on this assignment, make sure to abide by the collaboration policies of the course.
If you have questions while working on this assignment, please post them on Piazza! This is the best way to get a quick response from your classmates and the course staff.
Learning Objectives
After completing this assignment, students will be able to:
-
Create a basic React Native application using the Expo framework.
-
Use basic RN components including
View,Text,Image,StyleSheet, andScrollViewto create a (read-only) user interface. -
Use the
Tabs template as a starting point for a project, and use tab navigation betweenScreens. -
Run an RN application on the iPhone or Android simulator for testing.
-
Begin to learn to the RN
StyleSheetsyntax and common styling attribute names.
Warnings: Individual Work, Generative AI, and Academic Conduct!!
-
This is an individual assignment. You may discuss the problem statement/requirements, Python syntax, test cases, and error messages with your classmates. However, each student must write their own code without copying or referring to other student’s work.
-
It is strictly forbidden to use any code that you find from online websites including but not limited to as CourseHero, Chegg, or any other sites that publish homework solutions.
-
It is strictly forbidden to use any generative AI (e.g., ChatGPT, Claude, Gemini, CoPilot or any similar tools**) to write solutions for any assignment.
Students who submit work that is not authentically their own individual work will earn a grade of 0 on this assignment and a reprimand from the office of the Dean.
Pre-requisites: Expo and React Installation
Before you can build your first React Native application, you will need to follow the instructions on Blackboard about installing the Expo Framework.
You should also go through the first batch of React Native tutorial videos (on Blackboard) and follow along with the examples.
Task 1: Your First React Native Application
You will create a simple (read-only) app using tab navigation to display 3 different views, each including text and images.
-
Getting Started
Create a new working directory, parallel to your
djangodirectory, calledreact. At the Terminal, change into yourreactdirectory. Begin a new React Native application using the tabs template, using this command:npx create-expo-app@latest --template tabs MyApp
In VS Code, add your
reactdirectory to your workspace for easy access to the files.Before you begin writing any code, verify that you can run your app in the simulator. Change into the
MyAppdirectory, and run the simulator with this command (on Mac):npm run ios
For windows: use the command:
npm run
and then use the android or web-based simulator, or scan the QR code to open the Expo App on your mobile device.
-
Modify the starter code to create 3 screens.
The starter code contains a
MyApp/app/(tabs)directory which defines the layout of the application as well as two screens. Modify this code (and rename the files appropriately) to create 3 screens:index,detail, andabout.Verify that you can run the app and view each screen before proceeding. The most common error is a naming error (i.e., file name does not match the name you are using in the
_layout.tsxwhich defines the several tabs and screens navigation). -
In the
index.tsxfile, modify the code to export a default functionIndexScreen.This screen should define a
Viewcontaining some title text, some additional text below the title, and an image below that text. The image should load from an image file stored in theMyApp/assets/imagesdirectory.The text and image should be a basic page about you (or one of your interests).
-
Define the style information for your app.
Create the file
MyApp/assets/my_styles.ts. In this file, define and export aStyleSheetcalledstylesin which you will define styling information for each of the screens.In each of the other files that defines a screen (e.g.,
index.tsx,detail.tsx,about.tsx), add the followingimportstatement at the top, to gain access to your style information:import { styles } from '../../assets/my_styles';
Now you can reference specific styles defined in
my_styles.tsxto set thestyleproperty of each component, e.g.:<Text style={styles.titleText} ... > -
In the
detail.tsxfile, modify the code to export aDetailScreen.This screen should define a
ScrollViewcontaining some title text, and several images interspersed with other detail text.The images should load images that are stored externally on the public world-wide web. Upload the images within your
cs-people.bu.edu/username/imagesdirectory, and use the appropriate URL in theImage‘ssourceproperty.Here is a video example about using SFTP to transfer files (images) to the
cs-peoplewebserver.The text and images should provide more detail about one of your interests.
-
In the
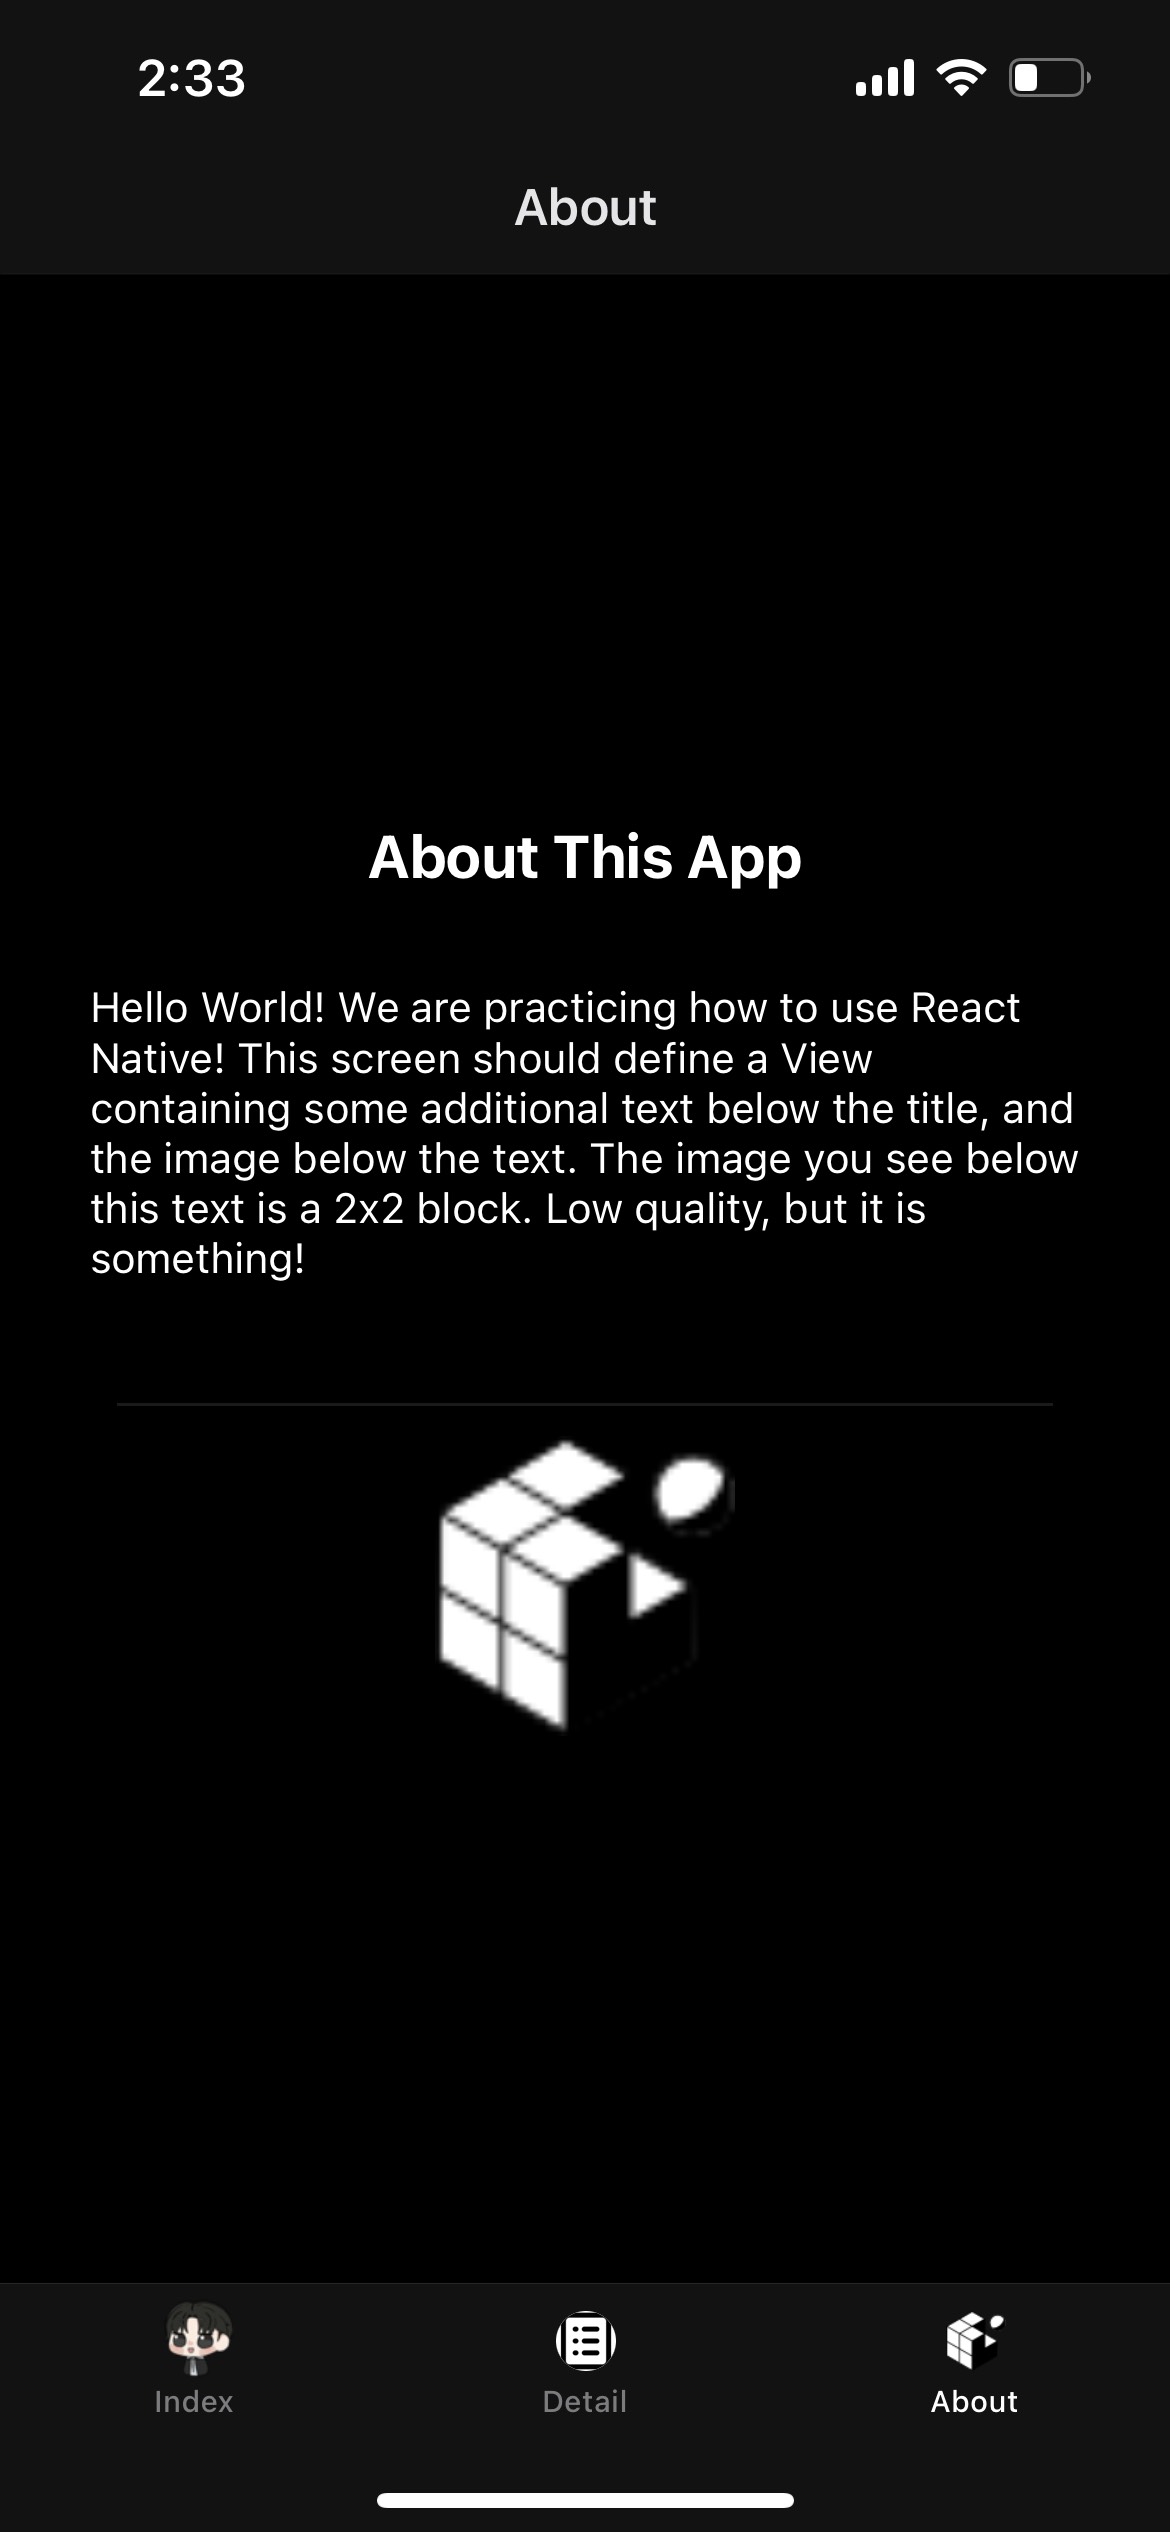
about.tsxfile, modify the code to export anAboutScreen.This screen should define a
Viewcontaining some title text, and one additional image with some additional “about” text. -
Test the navigation.
Verify that you can navigate between the screens using the tab icons at the bottom of the screen.
Sample Implementation
Here are some sample screens for reference only. Do not try to reproduce these.


Submitting Your Work
-
Run your app in the simulator, and take screen shots of each screen using COMMAND-S (Mac) or CONTROL-S (Windows).
Save these screen shots using the file names:
index.png,detail.png, andabout.png. -
Log in to GradeScope to submit your work.
Be sure to name your files correctly!
In the Gradescope upload page, upload these files:
-
MyApp/(tabs)/_layout.tsx -
MyApp/(tabs)/index.tsx -
MyApp/(tabs)/detail.tsx -
MyApp/(tabs)/about.tsx -
MyApp/assets/styles/my_styles.ts -
These 3 screenshots of your app:
index.png,detail.png, andabout.png.
Do not upload any of the other files/directories (e.g.,
node_modules) as these are large and we will not need to look at them.* -
This assignment will be graded manually, i.e., no autograder.
Notes:
-
Upload these files to Gradescope before the deadline.
-
You may resubmit as many times as you like before the deadline, and only the grade from the last submission will be counted.